New glass, new opportunities, new learnings.
After some time away, I have returned! It has been a long time coming. There have been some changes and new additions to both my gear and my home. As fate would have it, I had a clear schedule, a clear mind, and, best of all, clear skies! Our journey continues in Albuquerque, NM, under a full moon, with a new addition to my kit, my partner in life, and, as always, our trusty companions.
The kit: still simple, the setup: still tedious, and the lessons: still plentiful.
In December, I came into possession of a Celestron NexStar 4SE. Between then and now, I hadn’t had many opportunities to take it out and start learning the ropes of using this alt-az GoTo telescope. I’d like to say it was a simple, painless process, but it was definitely a load of fun to learn how to use this GoTo mount. While it wasn’t the most difficult thing to set up and get running, there were still a few snags along the way.
This time around, I didn’t travel far. In fact, I just walked out the front door and claimed a spot in the street. It wasn’t as dark as the remote skies of Socorro or the Cosmic Campground, but I didn’t care.
The target: the Moon. The plan: still nonexistent. The anticipation: endless…
The Night Begins
The night was a beautiful, warm, clear summer night in the desert. Polaris was just high enough above the roof to align to. I couldn’t have asked for a better stage.
My goal for the night was to get familiar with the scope and mount before embarking on a more remote trip. After “reading” the manual and reviewing setup videos, I was prepared to begin. I set up the tripod, placed the mount head on it, and powered it on.
I knew I would ultimately polar align the mount, but I was curious about the auto SkyAlign feature. In theory, you slew to three, preferably bright, stars, and the scope attempts to determine its position in the world. Then you’re off!
Not in my case.
After multiple attempts to align, I was met with nothing but failure and discouragement. I decided to change gears and shift directions. Surely polar alignment would be more difficult, but it was something I had done countless times before.
I repositioned the mount toward north, aligned the scope with its reference marks, adjusted the wedge, and lined Polaris up in the eyepiece. With a little trial and error, I was able to get my initial positioning right where I wanted it. Surprisingly, it wasn’t nearly as difficult as I thought it would be, even without fine adjustment controls.
I chose Arcturus and Vega as my alignment stars. Once again, it was a bit tedious, but it didn’t take long to get them both centered for alignment. Once aligned, I used the GoTo hand controller to slew to various targets, and to my shock, the scope placed every target perfectly in view.
I was amazed at how simple the process turned out to be. However, I was still bothered by the auto SkyAlign issues I had been having. I decided to give it one last try. I power-cycled the mount and began the alignment process all over again.
To my utter shock… it worked!
Flawlessly.
The scope aligned on the first try.
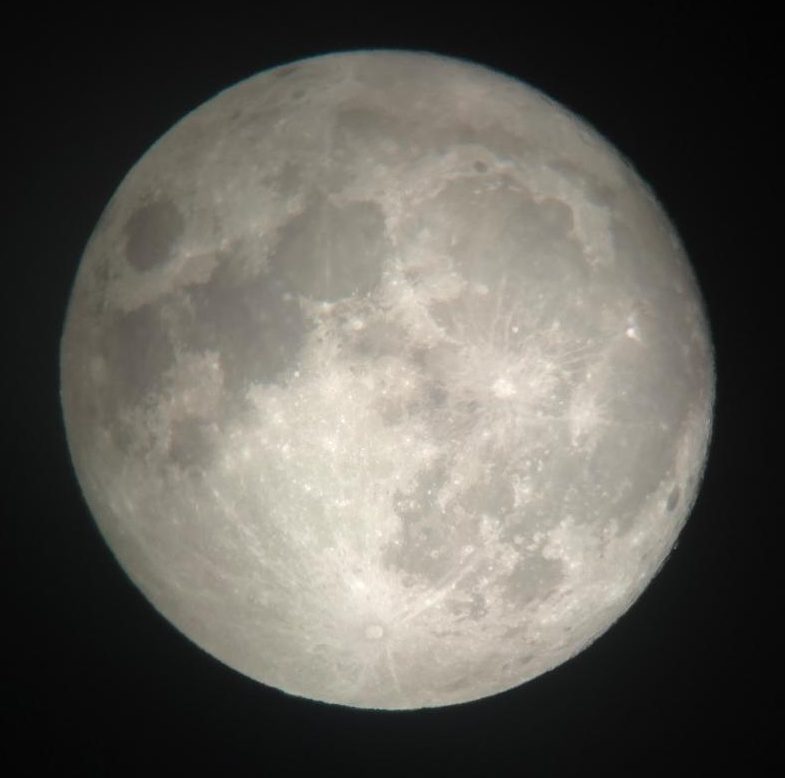
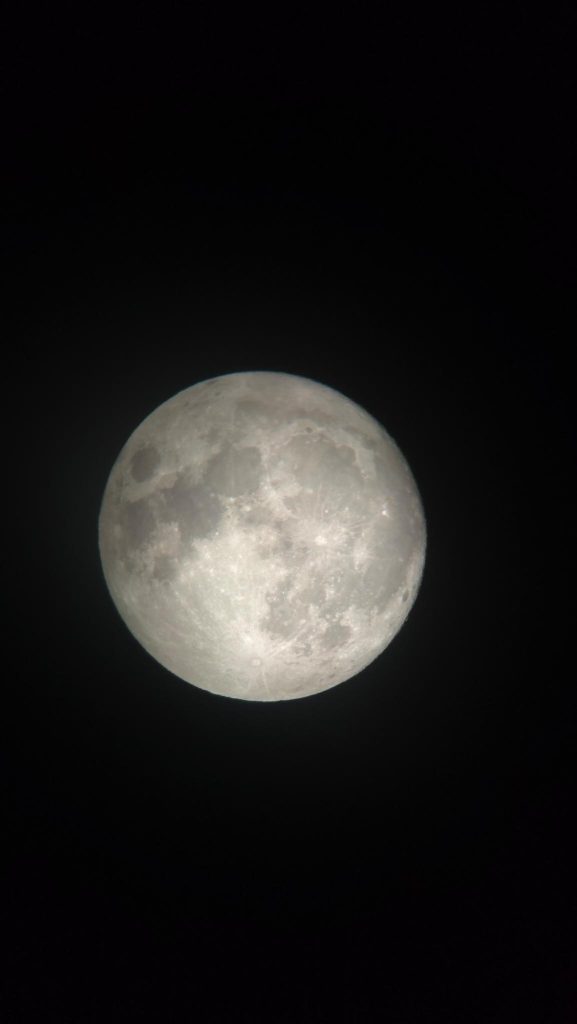
I set the tracking rate to Lunar and trained it on the Moon. It should come as no surprise that it had no trouble keeping the Moon centered in the eyepiece, but I was still amazed by how stable it was.
At this point, I didn’t have a T-mount for my camera, so my fiancée grabbed her phone, held it up to the eyepiece, and started snapping photos. To date, they’re the best Moon images I’ve ever seen taken with a phone. It was impressive to watch her capture them with incredibly steady hands through the eyepiece. (“click” the image below for proper scale)
Needless to say, a T-mount will be on its way soon, and I couldn’t be more excited.
An End to Another Night
clear: there were some modifications to make and more gear to acquire.
Firstly, I want to replace the smooth elevation “stick” with a long piece of all-thread to add fine adjustment. Secondly, I want to 3D print a Bahtinov mask to make focusing easier. Thirdly, I desperately want to get a T-mount for my camera so I can start exploring the limits of what I can do with this mount and scope. I look forward to continuing this journey with my future wife and with all of you.
Leave a Reply